Monday, October 6, 2014

Dyeing Wool for Flocked Wallpaper with Adelphi Paper Hanging.

This past year we have been working with Steve Larson of Adelphi Paper Hanging in Sharon Springs, NY to dye the yarn that they needed to create reproduction wallpaper for Strawberry Hill House in London. The yarn needed to match a small fragment of existing wallpaper and the dyes used needed to be appropriate to the 18th c. - in this case madder, with a little cutch to make it browner. Our end of the job was fairly straightforward but Steve needed to be pretty creative in figuring out how to chop dyed skeins into the fine dust-like material that was used for the flocking!   The following photos show just a little bit of how labor intensive and tedious this process really is. But the end product was definitely worth it!
The sample of 18th c. wall paper from Strawberry Hill in London
The yarn ready for scouring.
Kate at the scouring tub.
Zoe doing the mordanting with Alum and Cream of Tartar.
The finished madder dyed yarn.
Pressing the panels at Adelphi Paper Hanging.

Spreading the cut yarn for the flocking.

Detail of the press.

Applying the varnish glue.

Finished panels drying.

A section ready for the flocking.

Applying the block.

Close-up of the finished panel.


Thursday, December 27, 2012

A French "Bergere" Settee


 Our latest joint project with upholstery colleague, Ellie Blachly, was this wonderful settee owned by my client, James Fichter.  He purchased the settee on Ebay and believed that it may have been French Canadian in origin. We all fell in love with it's simple style and wonderful hand carved arms and legs.  After much discussion, we convinced James to use some of our embossed harateen in a tomato red with a gold and red
handwoven trim to match. What happened next as Ellie proceeded to undress the settee, was incredibly exciting...almost like an archeological dig.  As the different layers came off it became evident that the settee
was older then everyone thought ....18th c.....and that it was definitely French.  The sprung seat was a later addition and the current upholstery was also hiding some wonderful bits of hand carving on the lower front. Ellie consulted with a colleague in England and a wellknown upholsterer here in the States and between the three of them a plan evolved to restore the settee to it's original design.   Here she is!


The Settee before undressing with Eaton Hill's embossed fabric and handwoven trim.
The settee undressed revealing the springs that were added at a later date....soon to be removed.


Beautiful handwoven linen fabric underneath the equally beautiful handwoven webbing.

A much coarser linen with wads of tow linen layered on top.

The carved  arms and legs of walnut.


A piece of the original yellow silk underneath a tack.

Some version of french hay used as a stuffing on top of a layer of cow hair.

Underneath the hay and cow hair was this sweet wall paper.

The layers of stuffing...tow linen, marsh grass/hay, cow hair and wallpaper.
Ellie sewing on the trim.

The underside with handwoven webbing and trim.

Detail of the side arm.

The finished settee!

Wednesday, April 11, 2012

A Sneak Preview.....

The sofa is on it's way! And what a beautiful job!


....especially this treatment around the hand carved roseates.


Stay tuned for the finished piece....

Monday, April 2, 2012

Step #4 & #5....Weaving the Fabric and Embossing

Now that the crucial piece of making the plate of the pomegranate design is completed, the real work of producing the fabric is undertaken. Although it seems that this is the most straightforward part of the process, it is actually one of the most important. Watching Lynnette, who has been weaving for me on and off for twenty years, throw the shuttle back and forth hour after hour, it looks like she could do this in her sleep. But as anyone who has sat at a loom with shuttle in hand knows...to weave flawless cloth with the same number of weft shots every single inch does indeed take some skill.

 Here is Lynnette threading the 1500 heddles that make up the warp...a step that can take up to 5 hours of intense focus to not make any errors.

 ...and then it's on to the actual weaving of the 25 yards.  Lynnette is a master at this and because she is also a concert organist in her other life, her hands and feet automatically go where they need to go.
 After the fabric is woven I get the exalted job of darning in any of threads that were broken in the weaving.  It is a thankless job but someone has to do it!


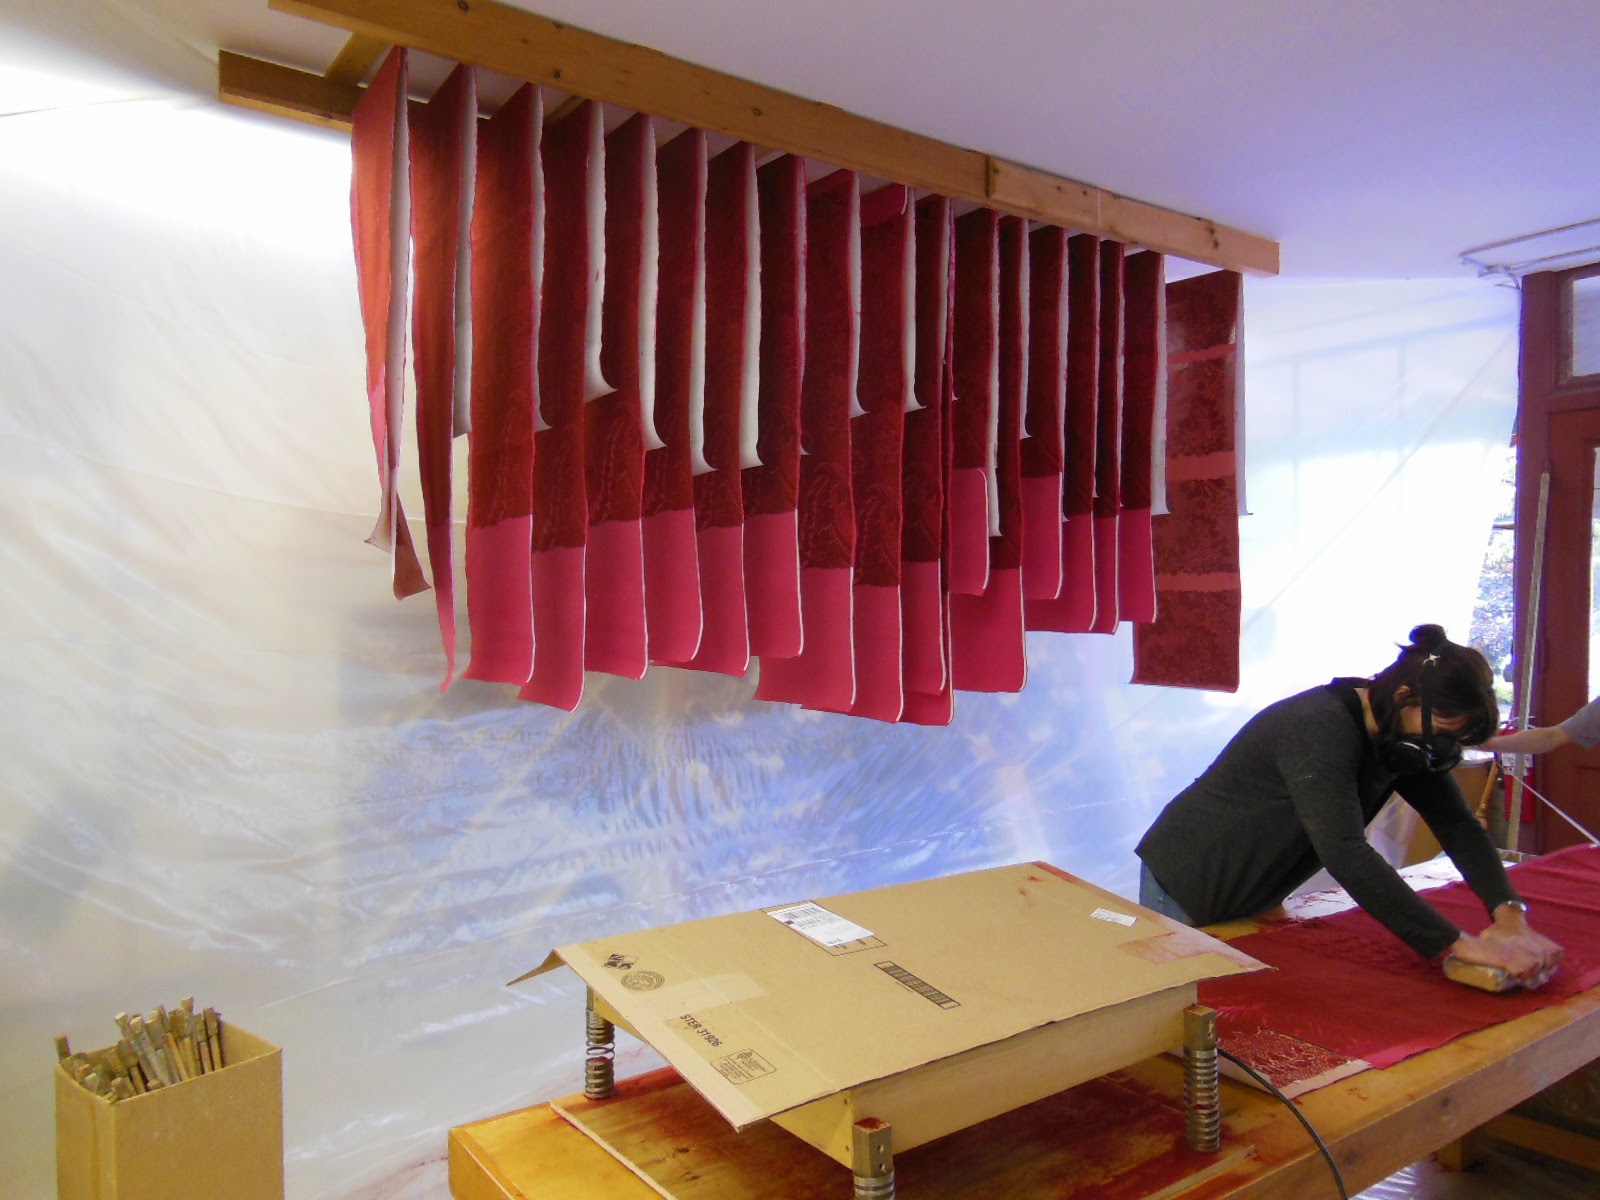
 Prior to the next step of embossing we treat the fabric with a hide glue solution so that the heat and pressure will give the finished piece that wonderful gloss and light reflecting quality.
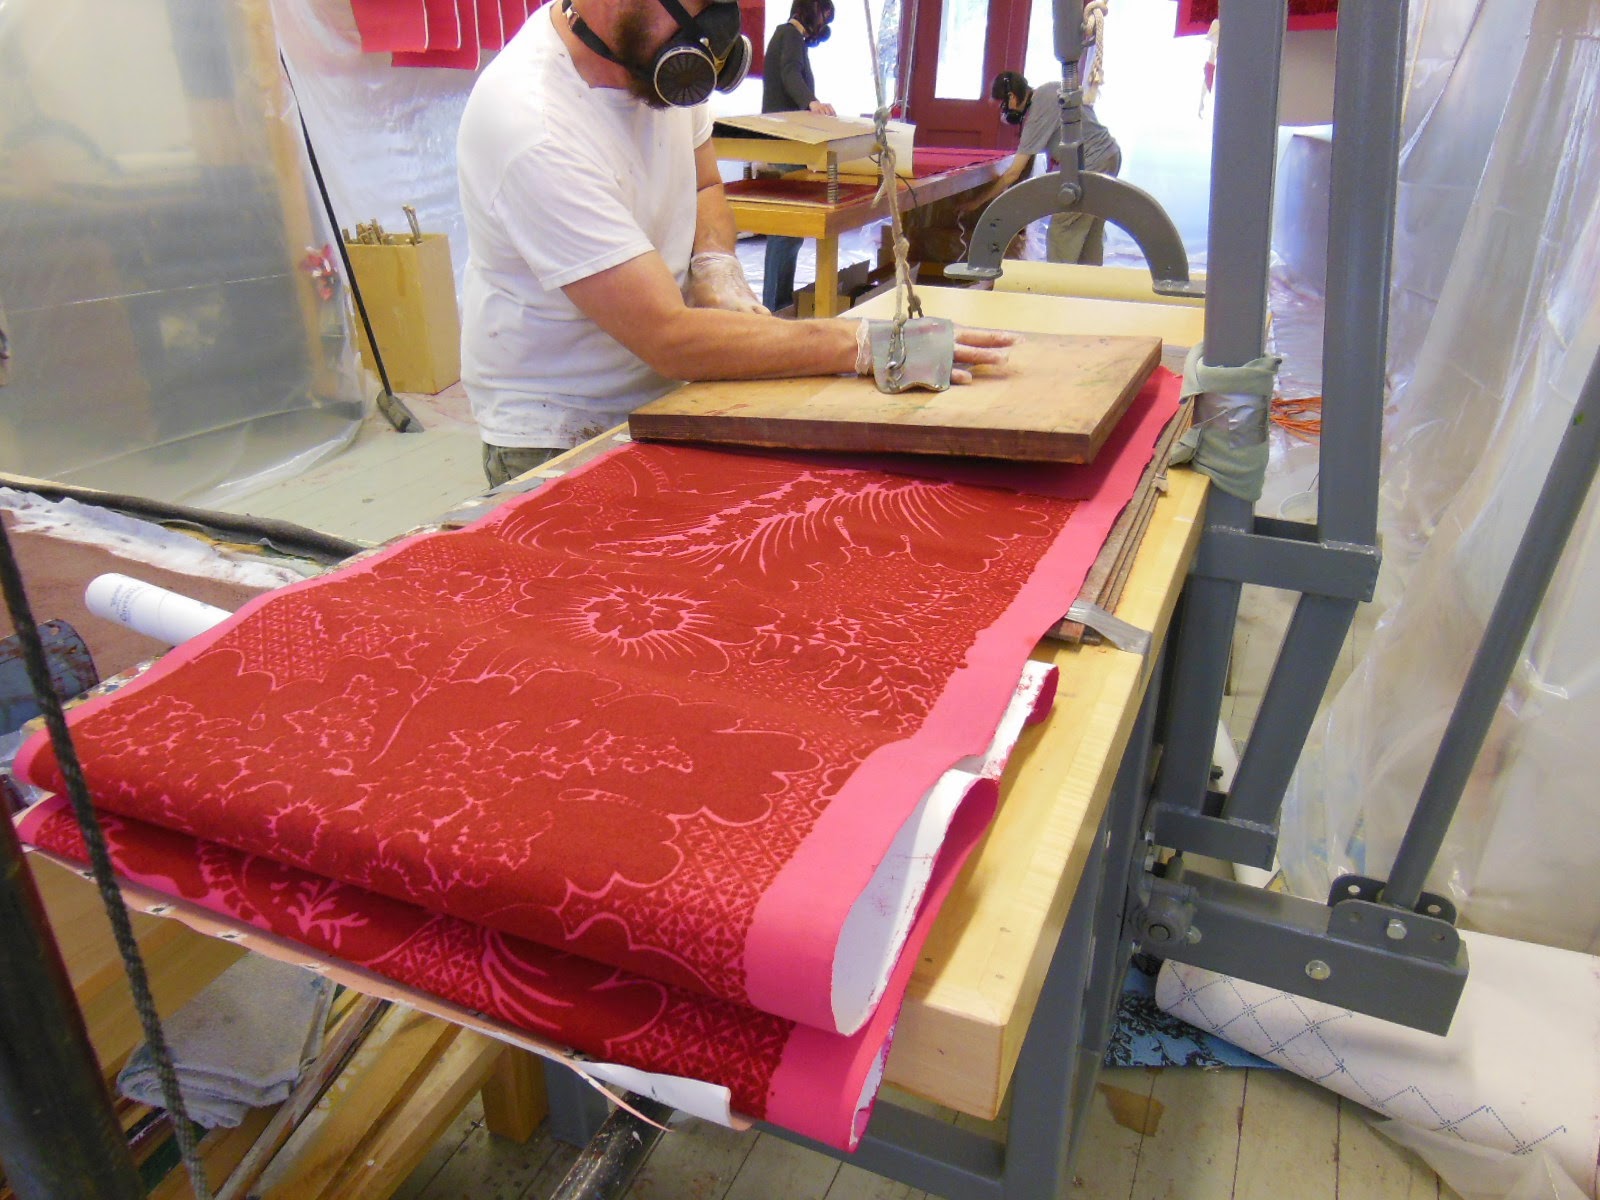
 Here is Alison, the master embosser, tacking the fabric to the plate so that the registration from one section to another is as exact as possible.
 The first roll completed....
So....now it is time to celebrate a job well done.  And to introduce my extraordinary colleagues who all helped to make this idea of Chris Rebollo's a reality....
 ...  The master computer whiz....Zoe....
 Lynnette, the master weaver....Alison, the master presser....and yours truly the master mind behind it all.  And thank you, Chris, for giving us the opportunity to embark on this incredible adventure!

Friday, February 24, 2012

Step #3...Making the Plate

The original fabric on the State Department Sofa.

When Chris first approached us about the possibility of embossing a pattern from the State Department Sofa we were excited, a little bit apprehensive but full of enthusiasm.  Unfortunately the first photos that we received of the fabric were not of the highest quality but with hard work and diligence we were able to start and extract a design.  None of this would have been possible without the highly skilled expertise of my two colleagues, Alison Pyott and Zoe Sheehan Saldana, who transformed an almost illegible photo into a workable design.

The first thing Alison did was to blow up the photos and then meticulously trace around the design so that we could send a clearer picture for Zoe to scan in the computer.
Zoe starting to extract the key elements of the pattern from the design.


Zoe and Alison conferring about the pattern.
After the design was scanned into the computer Zoe worked up the key elements and then printed them out in multiples so that she and Alison could begin to form the layout.

The main elements of the design laid out in the size of the pattern repeat.


The next step was to add the secondary designs and start to tie it all together.


Alison and Zoe fine tuning the pattern repeat.
The final draft printed out to scale with a sample plate of the "pomegranate".

The finished plate ready for embossing this coming week! Stay tuned for the first run through.

Monday, February 6, 2012

The Chris Rebollo Sofa ~ Step 2: Building the Warp

The first thing that we do after dyeing is weave a small sample to check how the dyed colors look woven up.


 Once the color is approved in the woven sample we can then forge ahead with making the warp.
Here is Lynnette winding spools from the dyed skeins using an umbrella swift and a walking wheel.
There were thirty five skeins of dyed yarn so we ended up with thirty five spools to make the warp.  Here are the spools set up on the skarne (spool rack) ready to start.  

 For this project we needed a 30 yard warp, 32" wide with 48 threads per inch.  The total amount of
dyed yarn was 9 pounds.   It took over six hours to make this warp, start to finish.
                                                                Here it is all chained up!
             The loom that we are using for this project is a documented 18th c. loom from Connecticut.
 This step of winding on the warp is called "beaming" because the warp is wound onto the large back beam at the rear of the loom.
                    The warp at the beginning stage of winding onto the back beam.
 The warp all beamed on showing the raddle which spaced the warp at the correct width.